When does a house become a home? When the place you live in begins to reflect the life you’re living. When every change, both big and small, makes it more and more your own. Choosing a new roof is your opportunity to make a major impact on the look of your home — and we’re here to help. Owens Corning Shingles has been a leader in the building materials industry for over 70 years. So you can be confident that your new roof will enhance and help protect your home for years to come.
 Similar to the energy-efficient appliances in your home, roofing products can provide energy-saving qualities.
Oakridge® Roofing Shingles in Shasta White can help reduce your energy bills when installed properly.
These shingles reflect solar energy, decreasing the amount of heat transferred to a home's interior - and
the amount of air conditioning needed to keep it comfortable. Actual savings will vary based on geographic location and individual building characteristics.
Similar to the energy-efficient appliances in your home, roofing products can provide energy-saving qualities.
Oakridge® Roofing Shingles in Shasta White can help reduce your energy bills when installed properly.
These shingles reflect solar energy, decreasing the amount of heat transferred to a home's interior - and
the amount of air conditioning needed to keep it comfortable. Actual savings will vary based on geographic location and individual building characteristics.
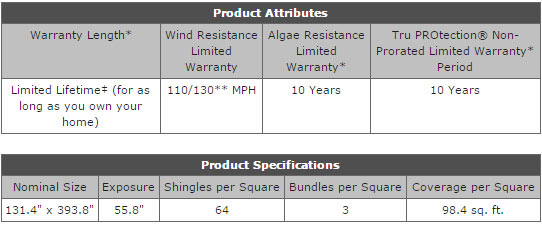
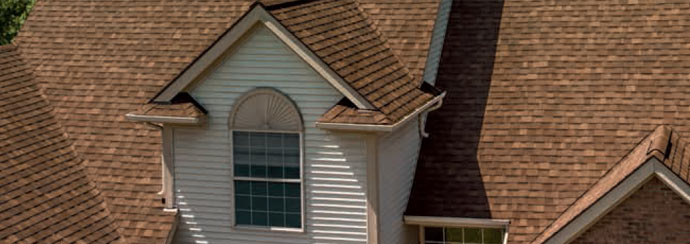
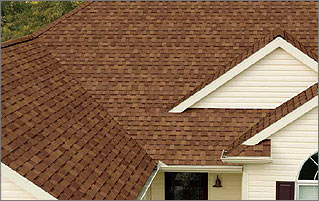
Similar to the energy-efficient appliances in your home, roofing products can provide energy-saving qualities. Oakridge® Shingles are The Right Choice® for long-lasting performance and striking beauty. In addition to a wide range of inviting, popular colors, they also offer:
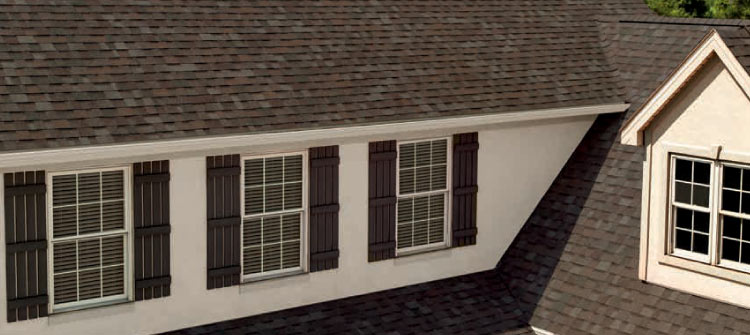
At Owens Corning Roofing, we’re always looking for ways to help you express your sense of style through your home, which is why we’ve expanded the Oakridge® color palette with these inspiring selections. Oakridge® shingles are specially designed to provide a unique blend of artistry and craftsmanship that will give your home a look that is anything but ordinary. Blacks and grays are rich and warm, earth tones capture the vibrancy of nature’s brightest hues, and bold color combinations help enhance a wide variety of exterior accents and landscaping. Plus, every Oakridge® shingle features great contrast and color depth to add drama and curb appeal to your entire home.


Click here to Download E-Brochure
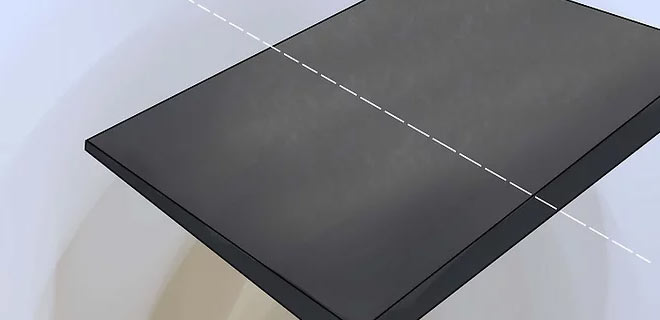
Step 1: Cut your starter-course shingles if necessary
If you are making your own starter shingles, cut the tabs off for the "starter course" (bottom row) of shingles. To prepare the tabs and lay the starter course, shorten the first starter shingle by few inches (or about a half of one tab).Place the glue strip at and all along the drip edge, and the rake edges as well. You will shingle over this starter course, so the bottom course will be double thickness.
Step 2: Cut five different lengths for staggering slots
To make sure you've got the right sizes to lay courses correctly, cut several sizes of shingles from the three-tab variety you purchased. Cut off one-half tab-width of the first tab to start the first course. Each cut is needed to shift the slots of the shingles on the course of shingles a 1/2 tab from aligning with the slots in shingles above and below. Keep all scrap, especially any single tabs for use on the ridge cap shingles. Make the following cuts:
Step 3: Start laying courses
Nail the "cut off shingle" into place, about 6 inches from its lower edge. Hammer in one nail about few inches from each end of each shingle and another nail about 1 inch above each cutout. Make sure to keep nails out of the tar strip as you work.
Step 4: Butt a full shingle up against the cut shingle and nail into place
Repeat this basic pattern, alternating shingles across the roof, working toward the right side, using the chalk line to keep the shingles straight horizontally.

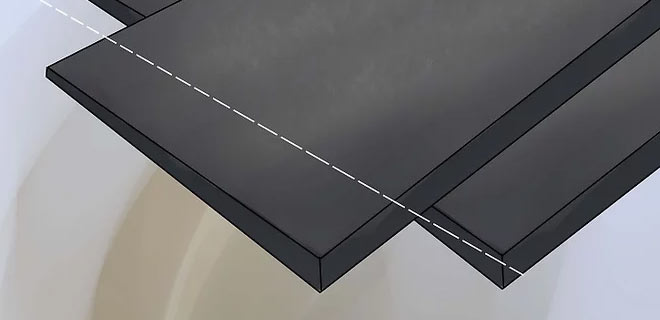
Step 5: Cut the last shingle to the size you need when you reach the end of the row
You can let the excess extend off the side end of the roof and trim it down after it is nailed on, if you like. Continue this process to the 5th row, then begin the same process as the first row beginning with a full shingle, and a chalk mark. Repeat all of the way to the ridge.

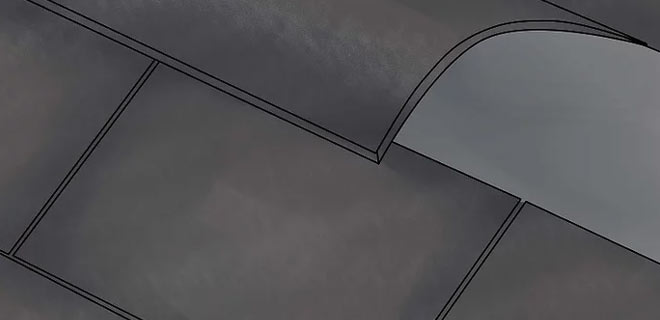
Step 6: Install the last course
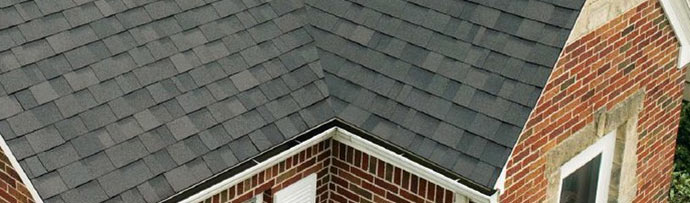
Bend the last course of shingles over the ridge, up to about 6 inches, and nail it onto the other side so that the roofing extends over the top of the ridge, where nails will be covered, leaving no exposed nails. However, do not do this if a ridge vent system is being installed as well. Nearly all modern roofs use ridge venting – the sheeting stops short on each side. End your final shingle row here, using the hook-blade for cutting. To cover the ridge, install vented cap shingles or continuous ridge vent.
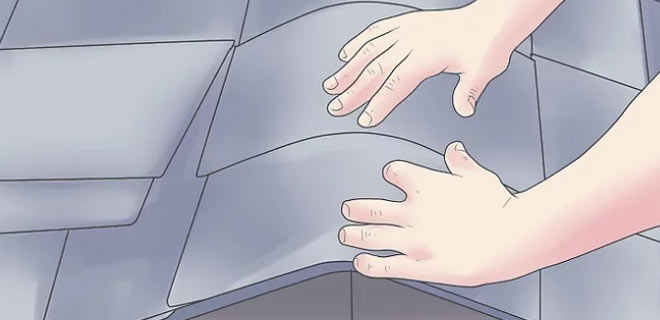
Step 7: Install the ridge shingles
With the asphalt granules exposed, across to the other end, nail the shingles on both sides of the ridge as before. Cut off the asphalt nail line from a ridge shingle when you get to the other end.
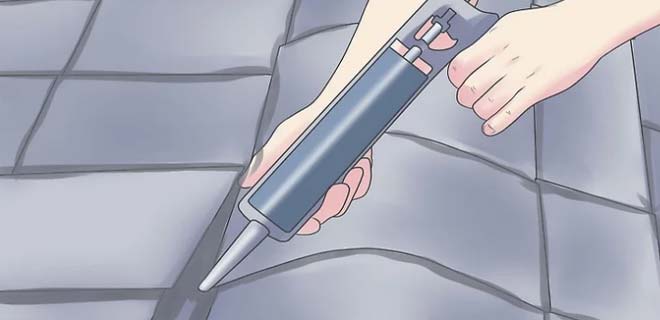
Step 8: Apply a heavy bead of asphalt cement
Dot the cement under and around the edge of the last ridge shingle where you removed the nail line. Nail at the four corners to the end of the ridge, and always add a little dab of tar to cover the nail heads.